
The Ultimate Guide to Baseboard and Trim Installation
IC
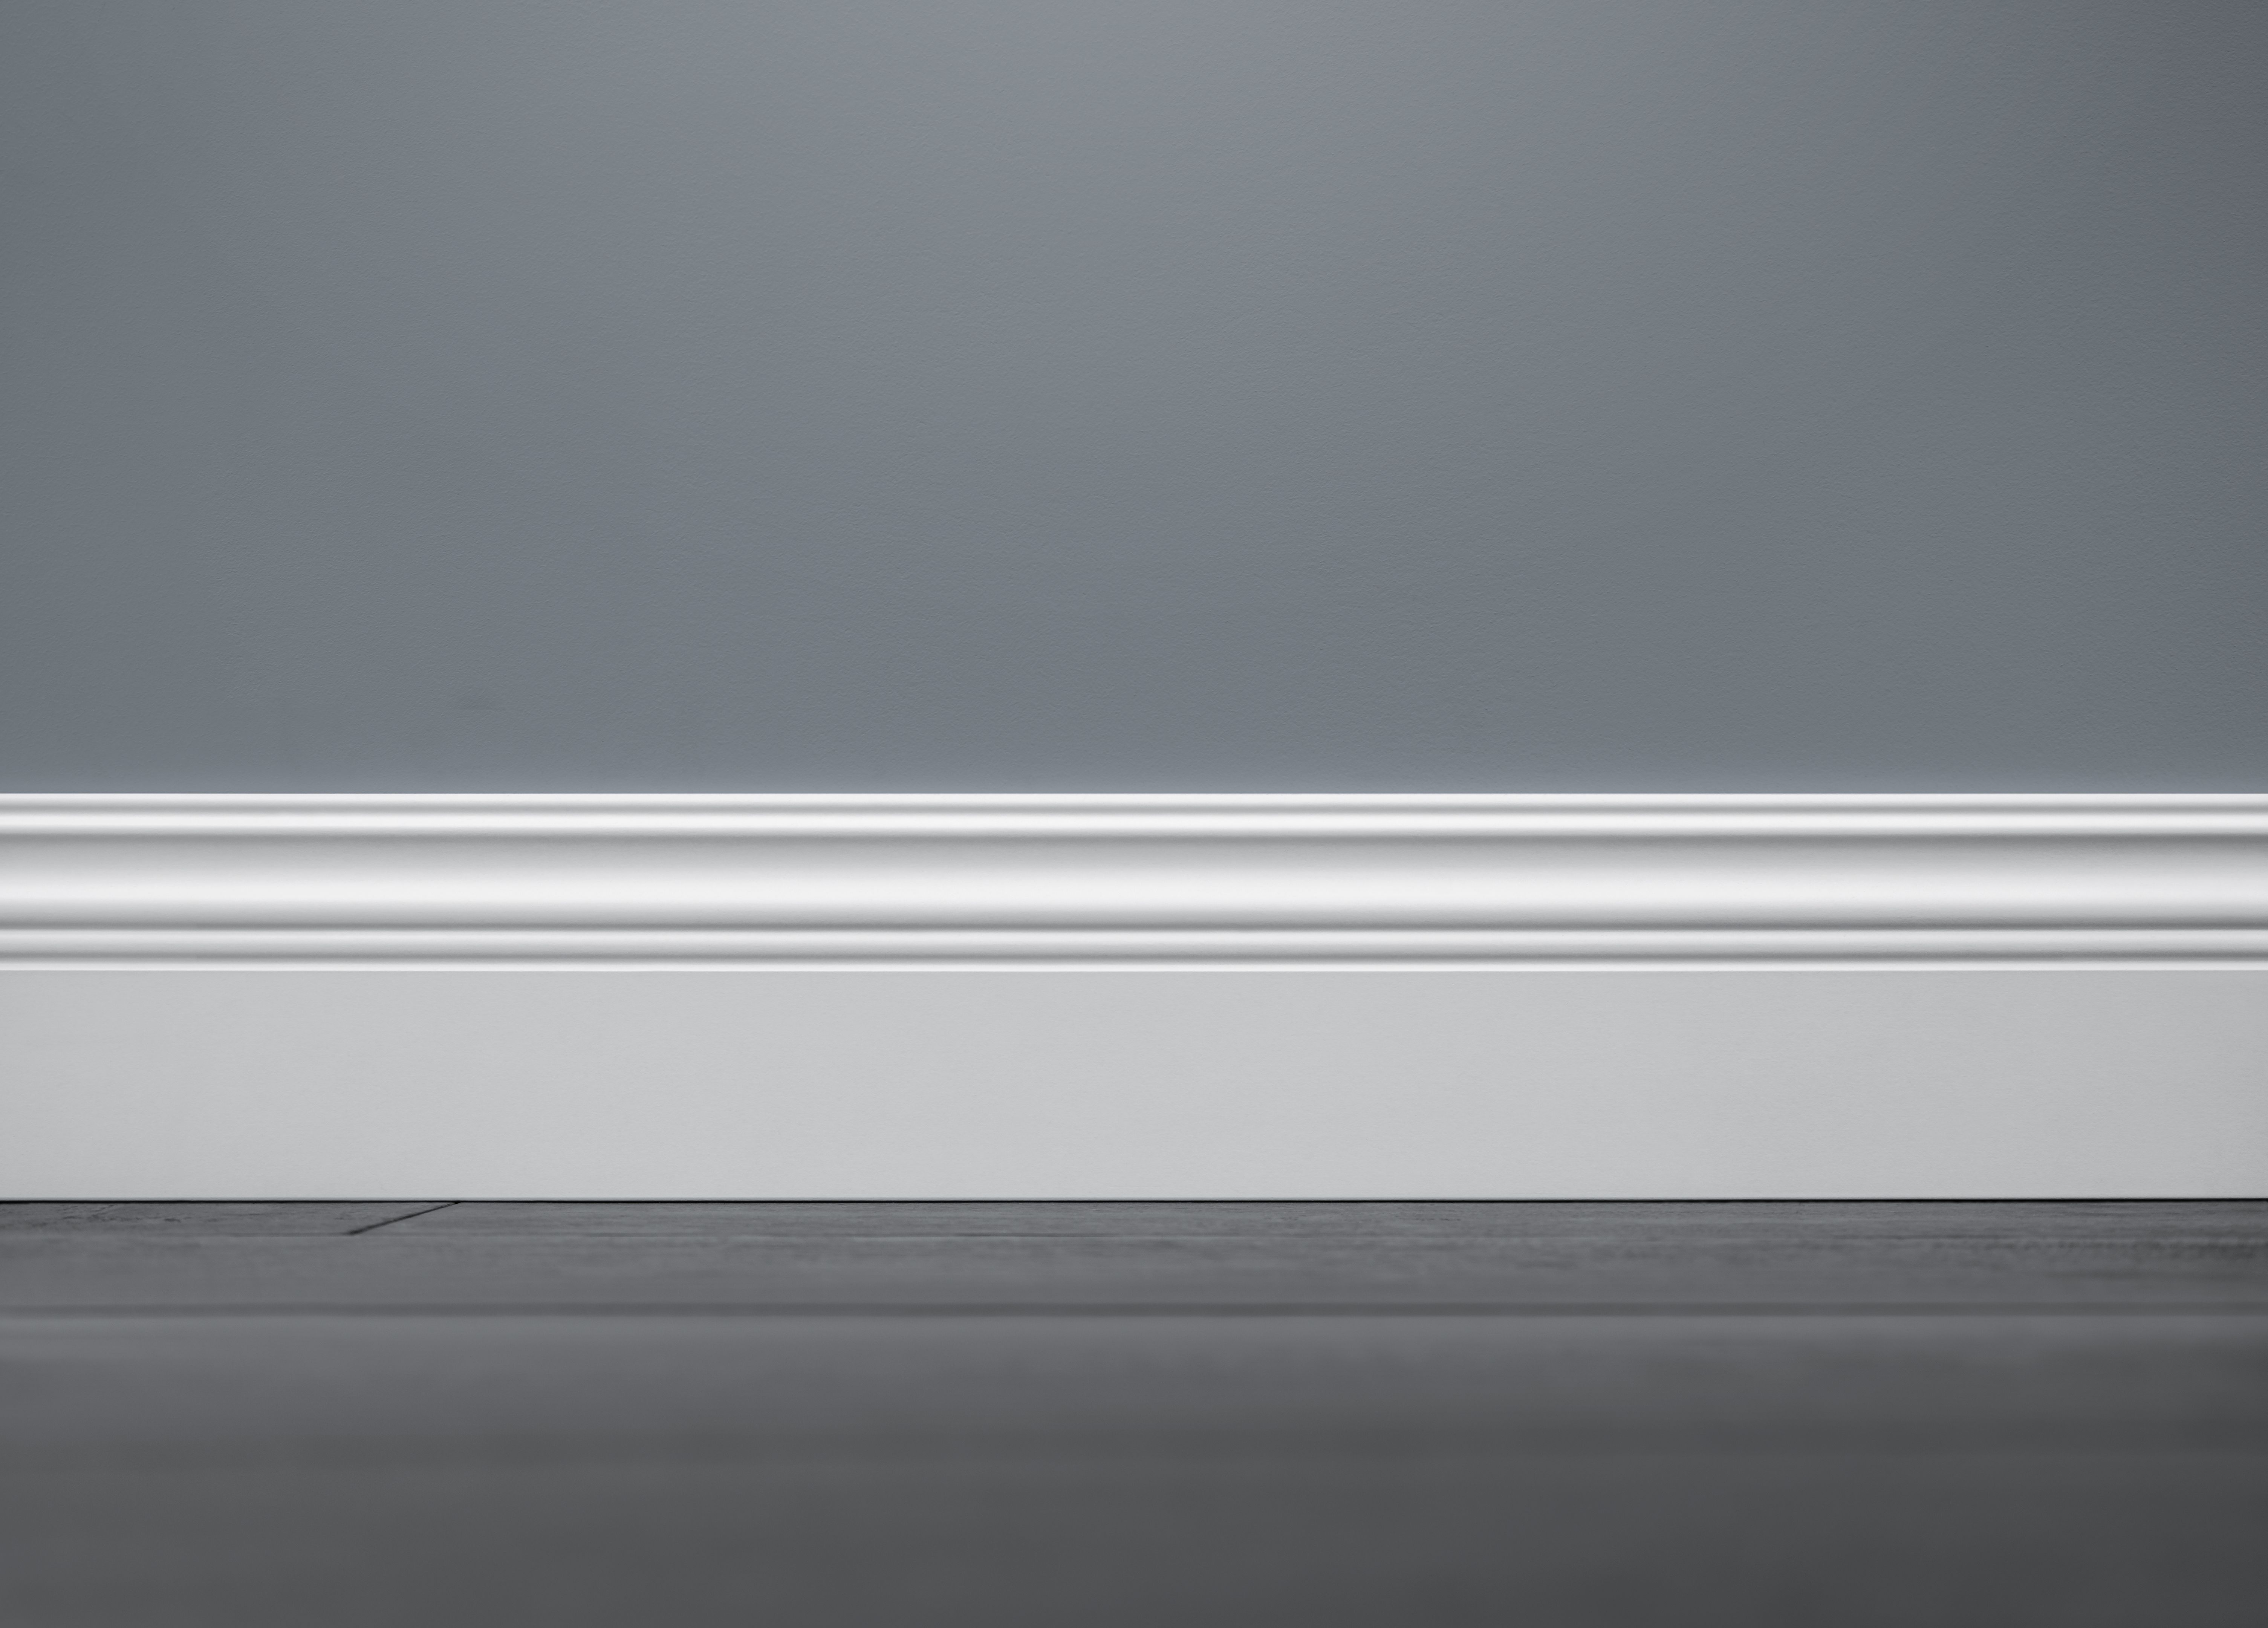
Understanding Baseboards and Trim
Baseboards and trim are essential elements in home design, providing both aesthetic appeal and practical function. They serve as a transition between flooring and walls, hiding gaps and creating a polished look. Whether you're renovating or starting from scratch, proper installation can make a significant difference in the overall appearance of a room.
The variety of styles and materials available allows you to customize your space according to your taste and needs. From classic wooden designs to modern PVC options, there's something for every home.
Materials and Tools You’ll Need
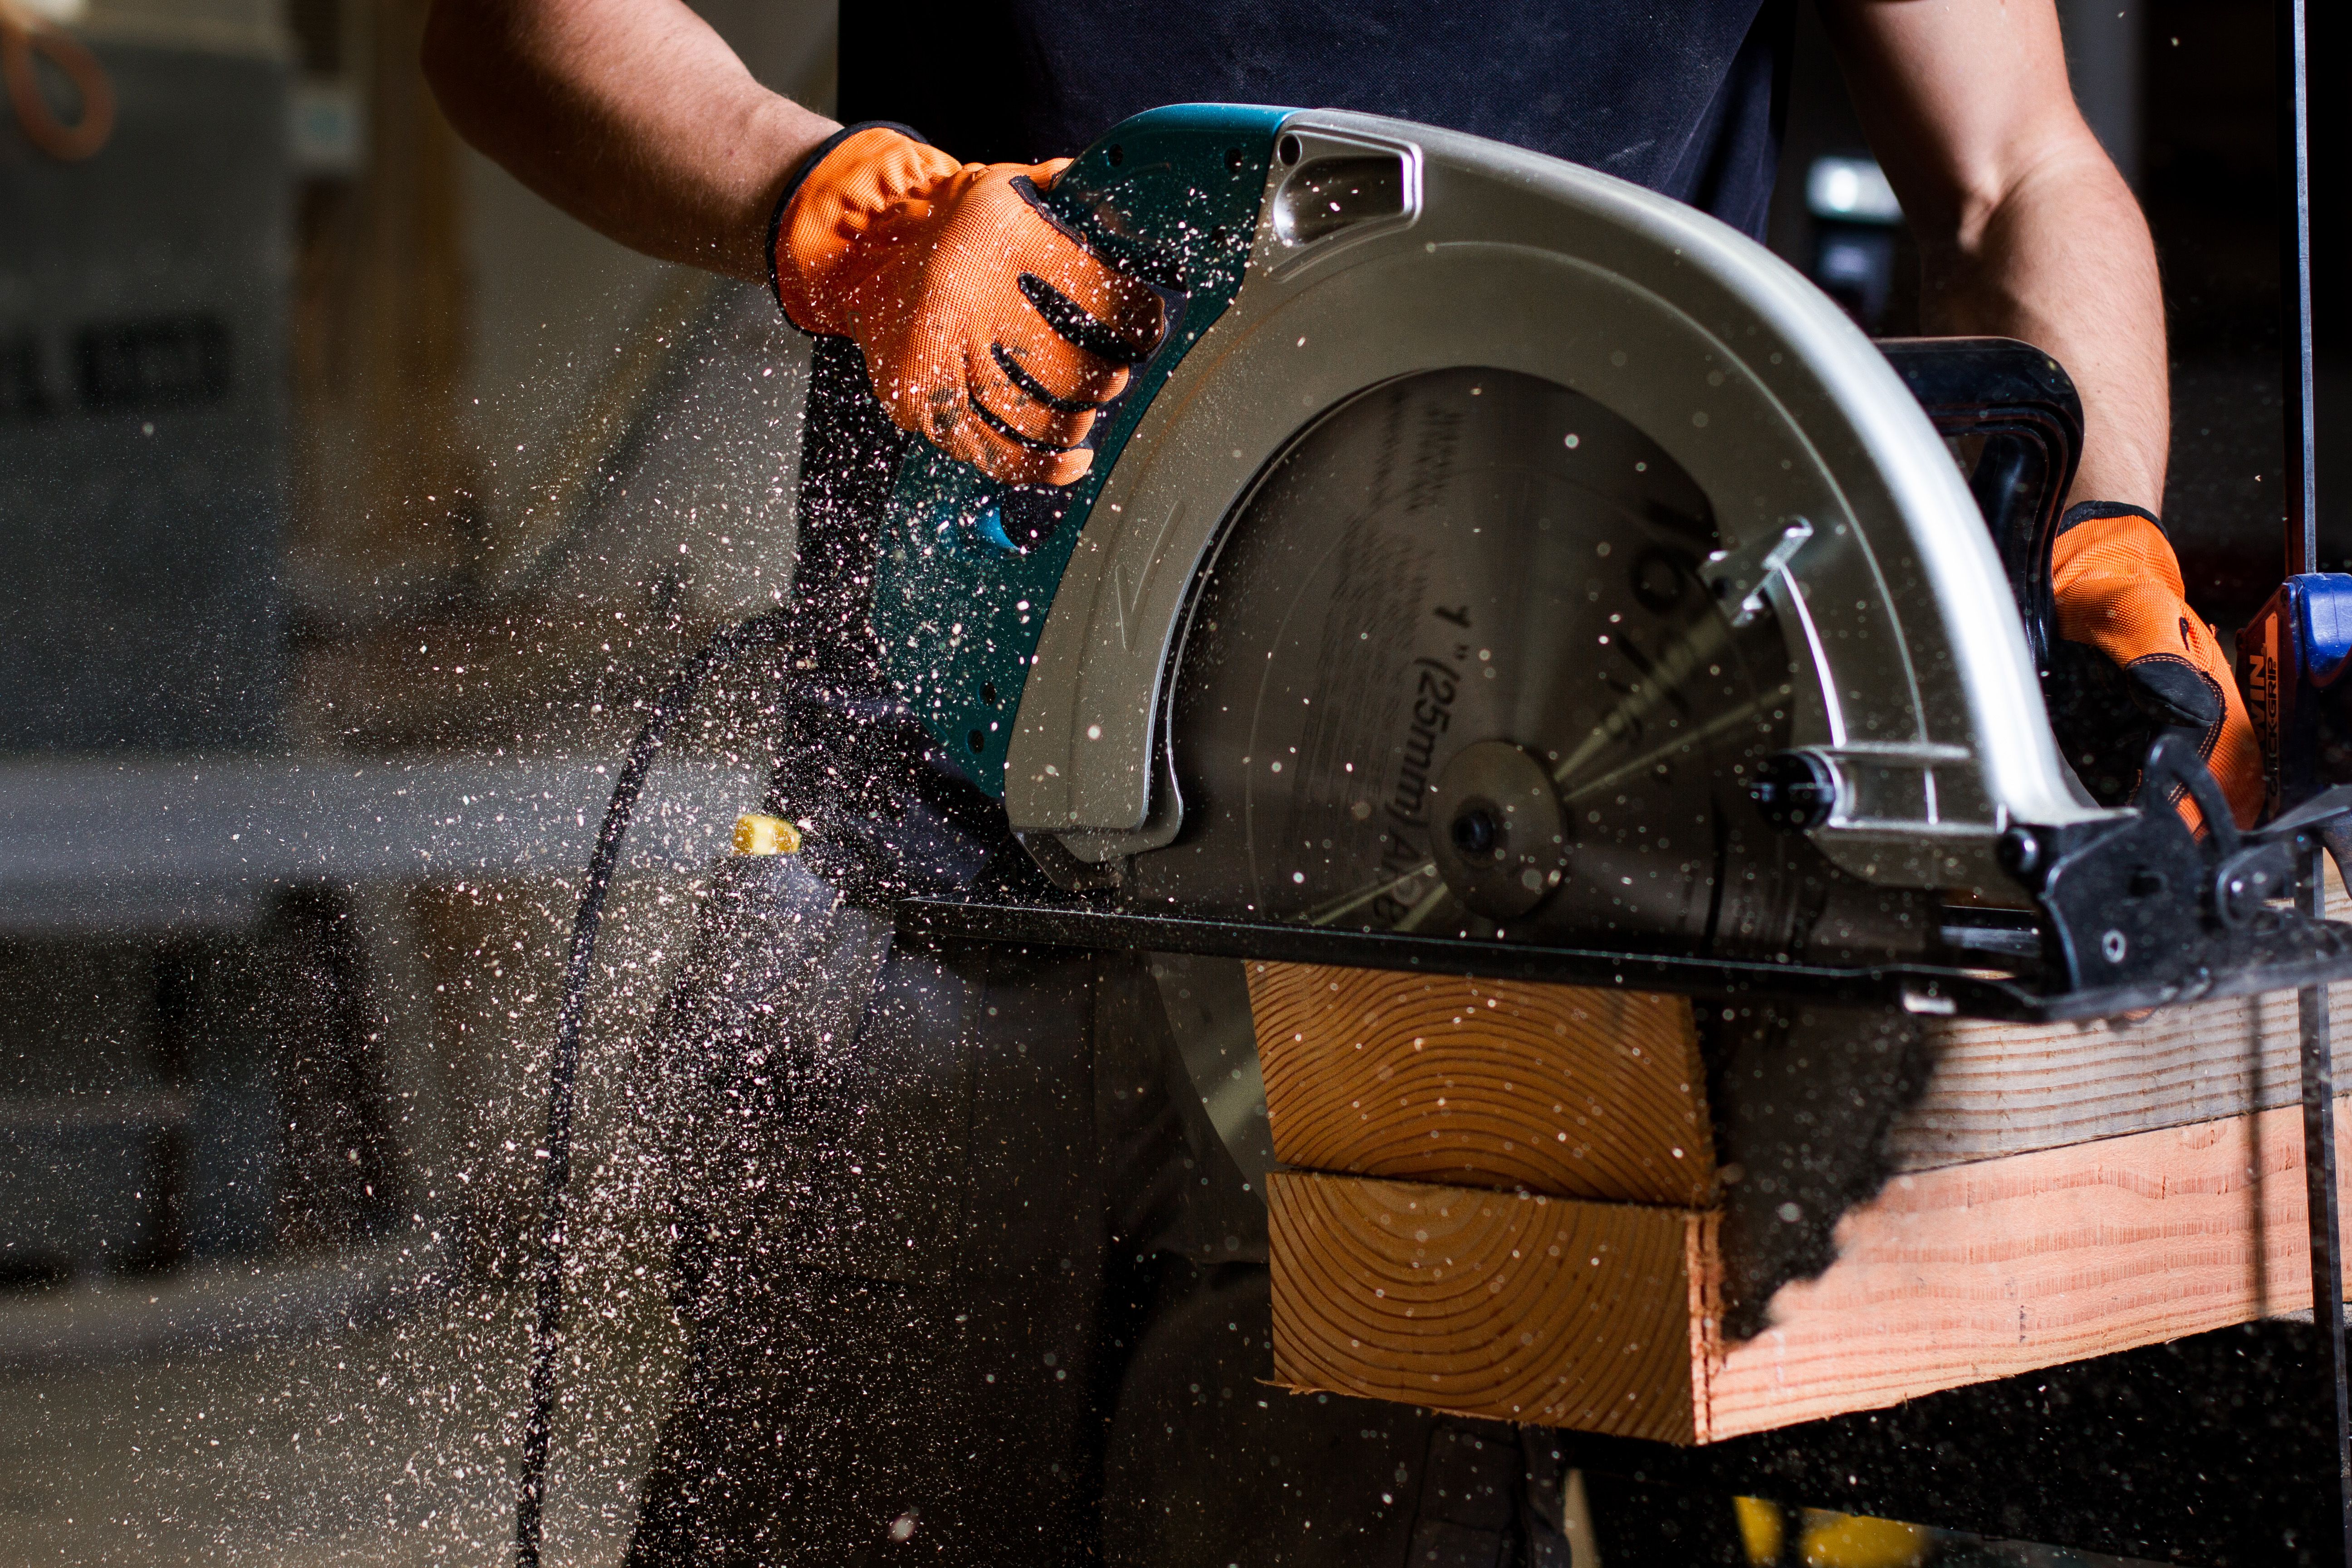
Before you begin, gather all necessary materials and tools. This preparation will make the process smoother and more efficient. Common materials include wood, MDF, or PVC baseboards. You'll also need tools such as a miter saw, measuring tape, hammer, nails, and a level.
Don't forget about safety gear—gloves and goggles are crucial to protect your hands and eyes during cutting and installation.
Choosing the Right Baseboard
When selecting baseboards, consider the style of your home. For a traditional look, opt for detailed wood trim. If you prefer a sleek, modern design, minimalist MDF or PVC might be more appropriate. The height of the baseboard also plays a role in the visual appeal; taller baseboards can add elegance to a room.
Step-by-Step Installation Guide
Installing baseboards and trim involves several key steps. Here's a simple guide to help you through the process:
- Measure the room and cut the baseboards to size using a miter saw. Remember to account for corners, which require angled cuts.
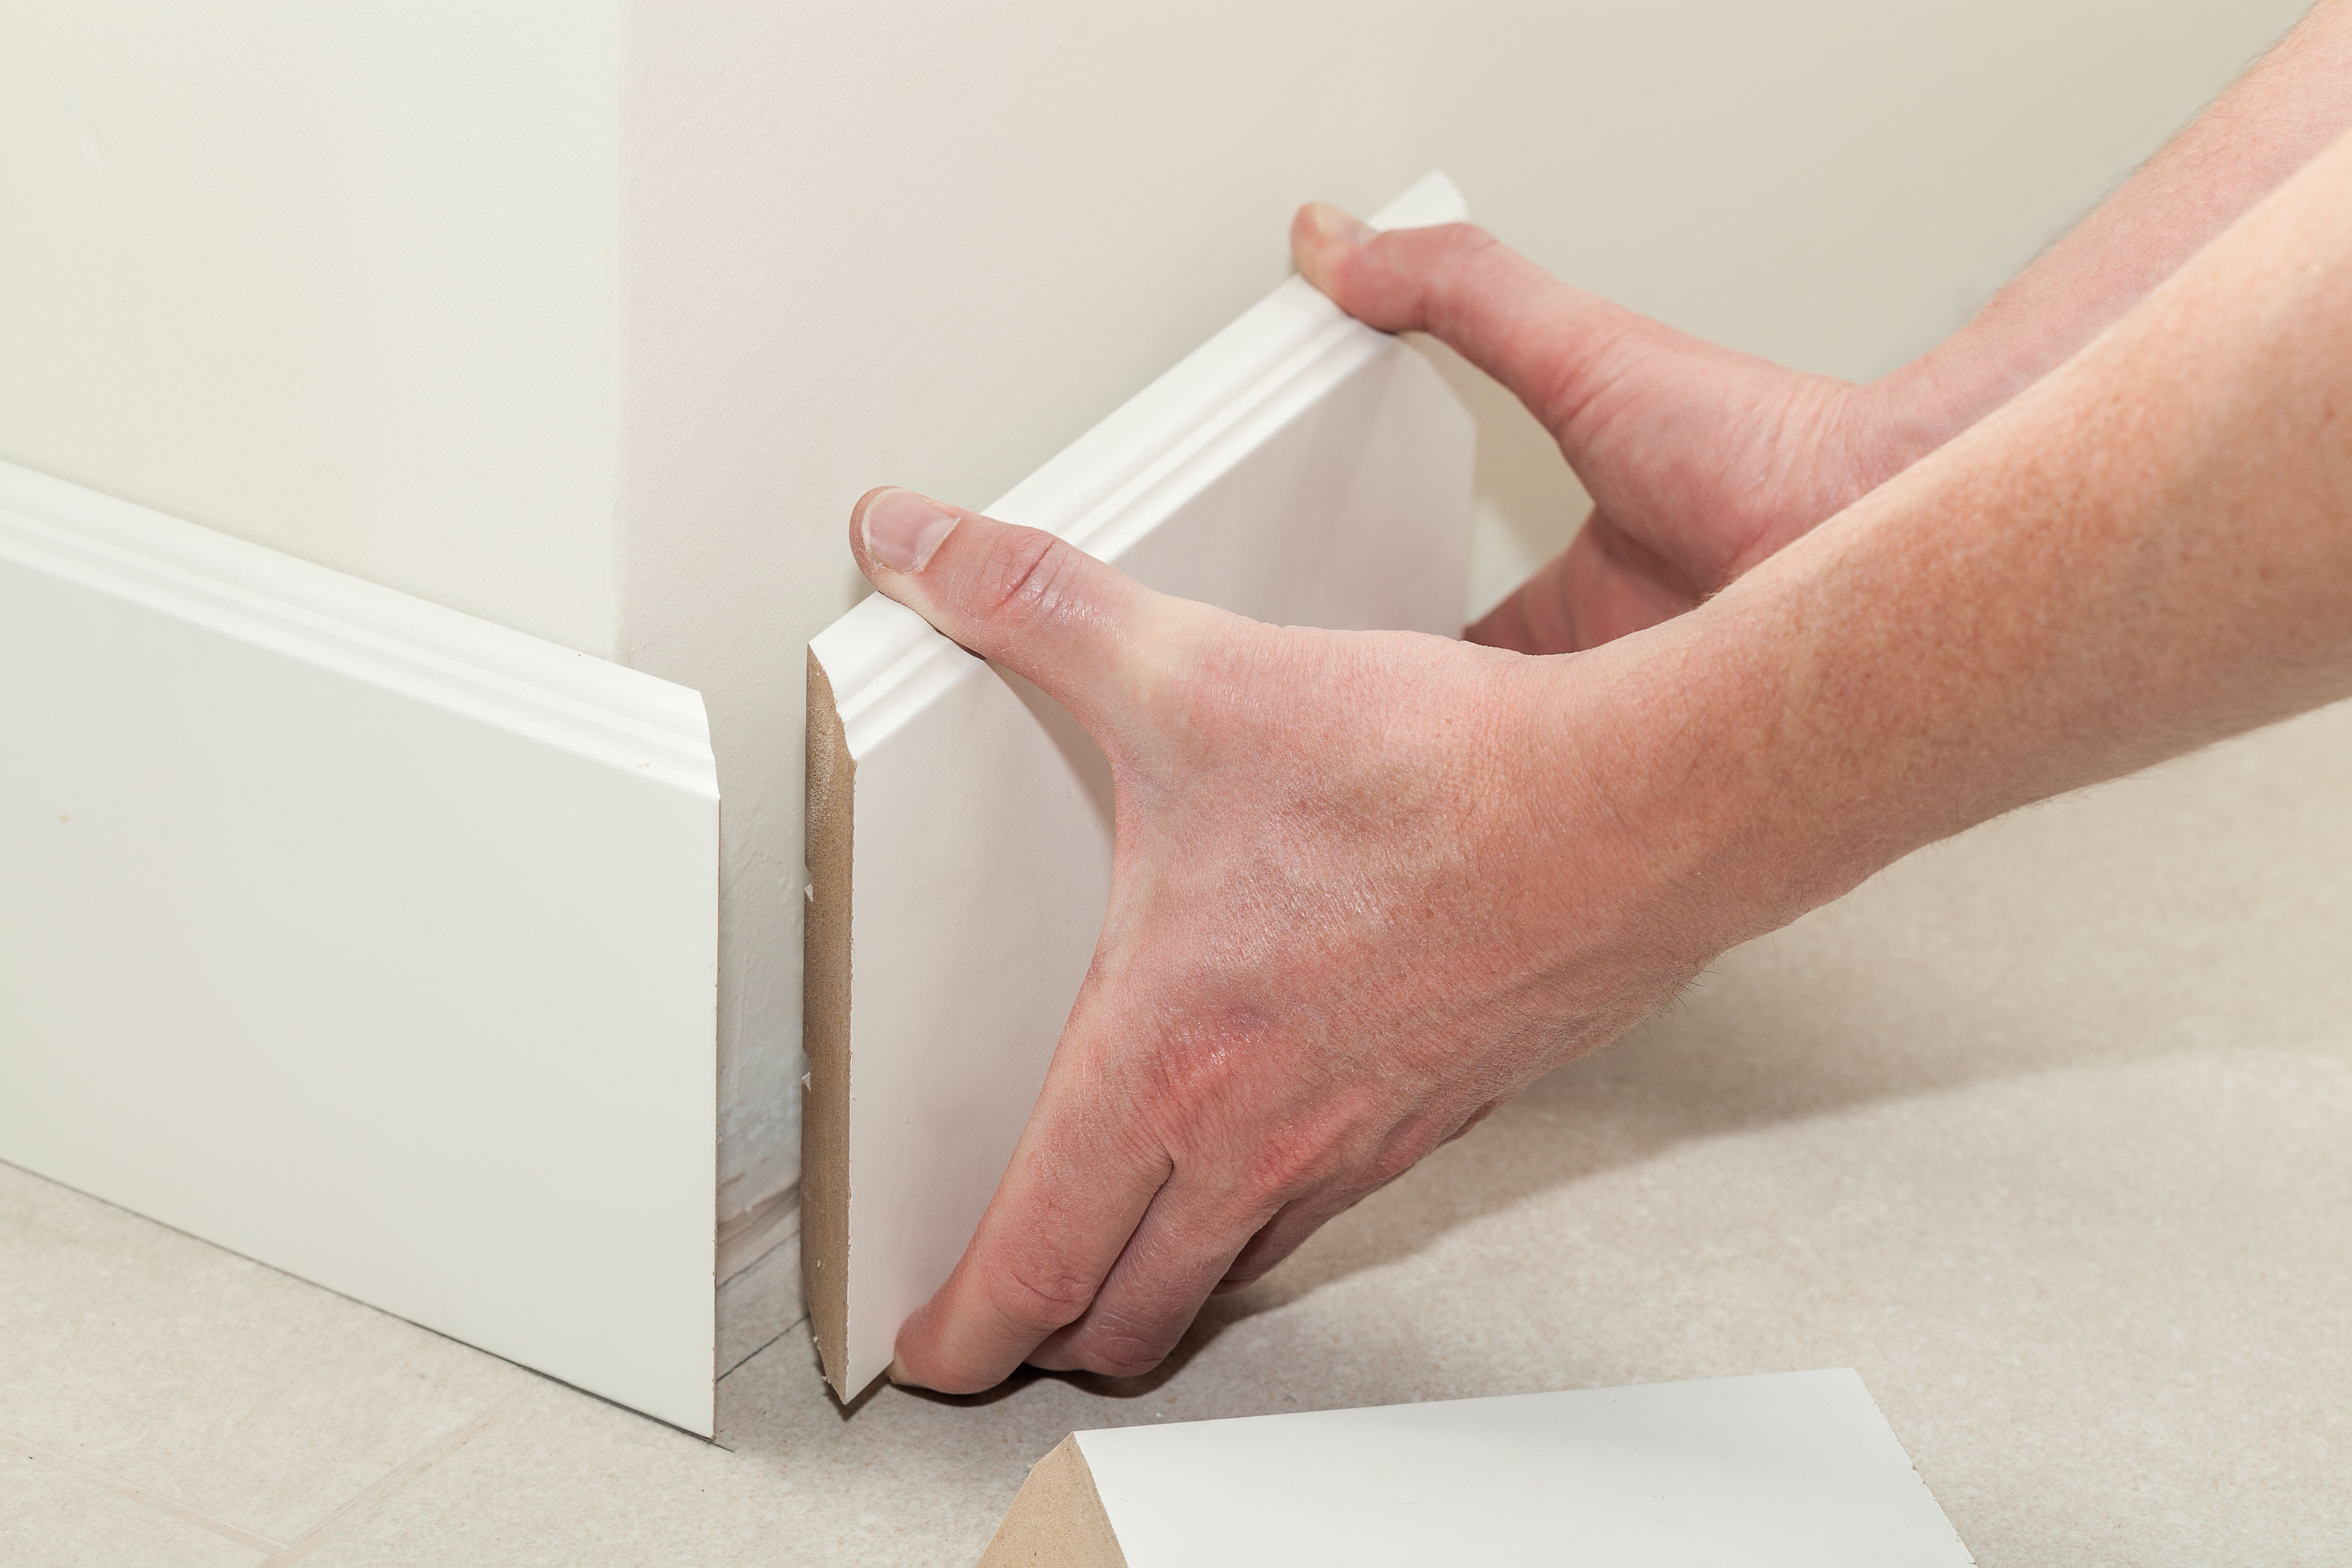
- Dry fit the pieces to ensure they align correctly.
- Apply adhesive if necessary, and position the baseboard against the wall.
- Nail the baseboard in place, ensuring it is level.
- Caulk any gaps for a seamless finish.
Common Challenges and Solutions
During installation, you might encounter uneven walls or floors. Use shims to correct alignment issues. If gaps appear between the baseboard and the wall, caulking can help create a smooth transition.
For corners, precise miter cuts are crucial. Practice on scrap pieces if you're unsure of your technique. Remember, patience and precision are key to a successful installation.
Finishing Touches
Once installed, the final step is to add finishing touches. Sand any rough edges and apply paint or stain to match your decor. This will not only enhance the appearance but also protect the baseboards from wear and tear.
Regular maintenance, such as cleaning and touch-up painting, will keep your baseboards looking fresh and new for years to come.
Conclusion
Installing baseboards and trim is a rewarding project that can dramatically improve the look of your home. By choosing the right materials and following proper installation techniques, you can achieve a professional finish that enhances any room.
Whether you're a seasoned DIYer or a first-time renovator, this guide provides the essential steps and tips to help you succeed. Enjoy the process and the transformation of your space!