
Step-by-Step Guide to DIY Baseboard and Trim Installation
IC
Installing baseboards and trim can significantly enhance the appearance of your home, adding a polished and professional finish to any room. While hiring a professional is always an option, taking the DIY route can be both rewarding and cost-effective. This step-by-step guide will walk you through the process of installing baseboards and trim like a pro.
Gathering Your Tools and Materials
Before you begin, it's crucial to have all the necessary tools and materials at your disposal. Here's what you'll need:
- Measuring tape
- Miter saw
- Hammer or nail gun
- Nails
- Caulk and caulking gun
- Wood filler
- Sandpaper
- Paint or stain
Having these tools ready will save you time and make the process smoother.

Measuring and Cutting
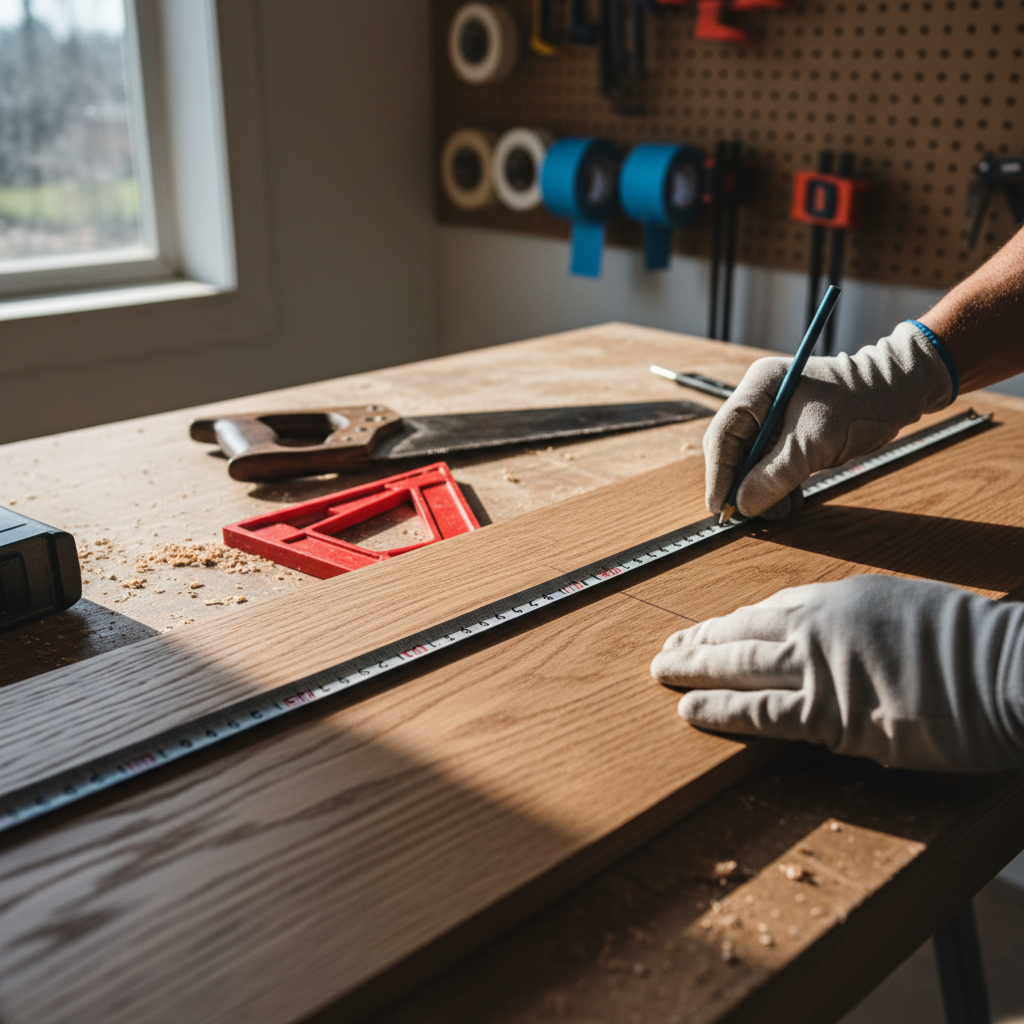
Accurate measurements are essential for a seamless installation. Start by measuring the length of the walls where the baseboards will be installed. Use a measuring tape and record the dimensions carefully. It's wise to add a few extra inches to your measurements for any necessary adjustments.
Next, use a miter saw to cut your baseboards to the desired length. For corners, you'll need to cut the ends of the baseboards at a 45-degree angle to ensure a tight fit. Double-check your cuts for precision before proceeding.

Installing the Baseboards
Begin by placing the baseboards against the wall, starting in one corner and working your way around the room. Use a nail gun or hammer to secure the baseboards to the wall studs. Ensure that the nails are evenly spaced for a secure fit.
If you're using a hammer, be cautious to avoid damaging the baseboards. Use a nail set to countersink the nails slightly below the surface of the wood.
Filling Gaps and Seams
Once the baseboards are installed, you'll likely notice small gaps or seams. Use wood filler to fill in any nail holes or imperfections. Smooth the filler with sandpaper once it's dry for a flawless finish.
For larger gaps between the wall and the baseboard, apply a bead of caulk using a caulking gun. This will create a seamless appearance and add to the overall aesthetic.
Painting or Staining
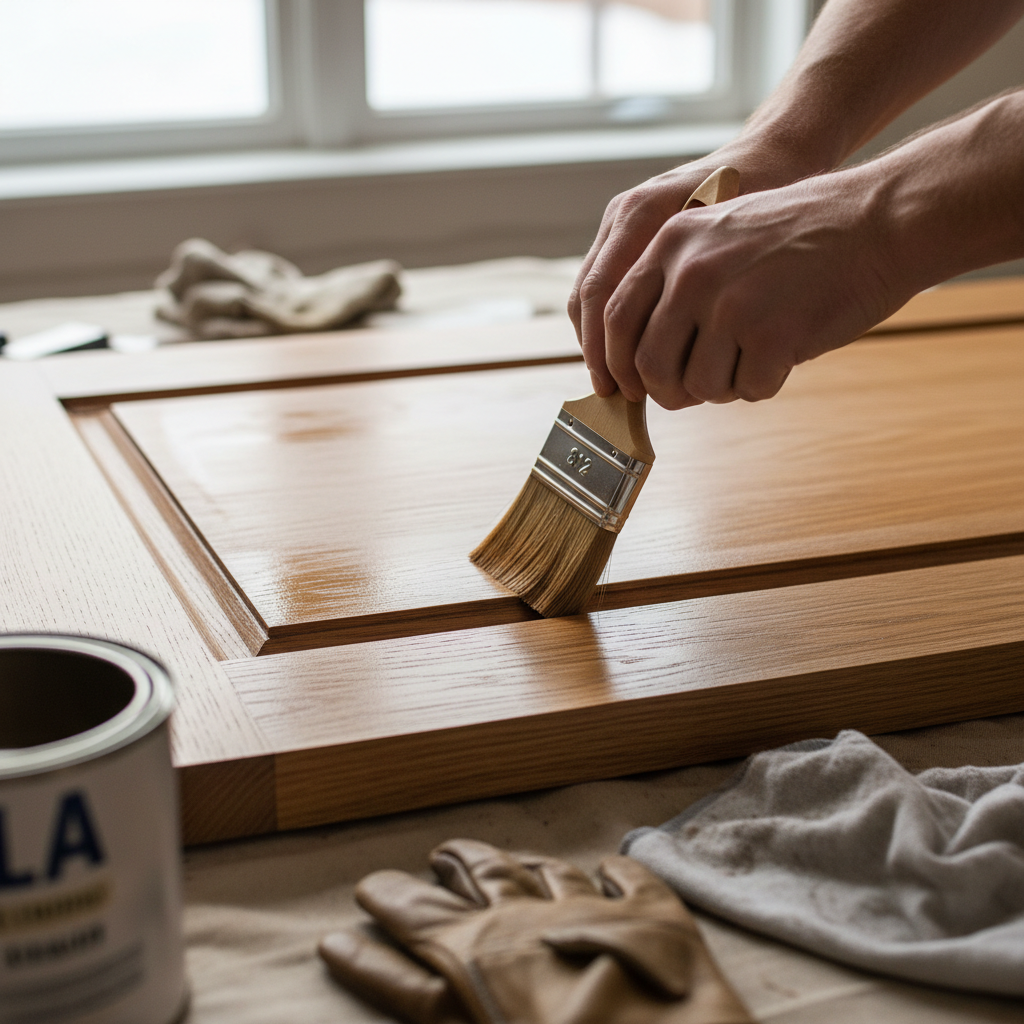
After filling and sanding, it's time to add the finishing touches. Decide whether you want to paint or stain your baseboards and trim. If painting, choose a color that complements your walls and home decor. Apply a primer first if necessary, followed by your chosen paint or stain.
Allow the paint or stain to dry completely before moving any furniture back into place. This step will ensure a clean and professional look.
Final Touches
Inspect your work for any remaining imperfections. Touch up any areas with paint and ensure that all caulk and filler are properly sanded and smoothed. These final touches will give your baseboards and trim a crisp, clean look.
Congratulations! You've successfully installed your baseboards and trim, giving your space a refreshed and polished appearance. With a bit of patience and attention to detail, you've transformed your room with a professional finish.