
Mastering Baseboard and Trim Installation: A Professional's Guide
IC
Understanding the Basics of Baseboard and Trim
Baseboards and trim are essential components in interior design, adding both function and style. They protect walls from damage, cover gaps, and enhance the aesthetic appeal of a space. Installing them may seem straightforward, but achieving a professional look requires attention to detail and the right techniques.
Gathering the Right Tools and Materials
Before starting your installation, ensure you have all necessary tools and materials. Essential tools include a miter saw, coping saw, tape measure, level, nail gun, and caulking gun. For materials, you'll need baseboard and trim pieces, finishing nails, wood filler, and paint or stain. Having these on hand will streamline the installation process.
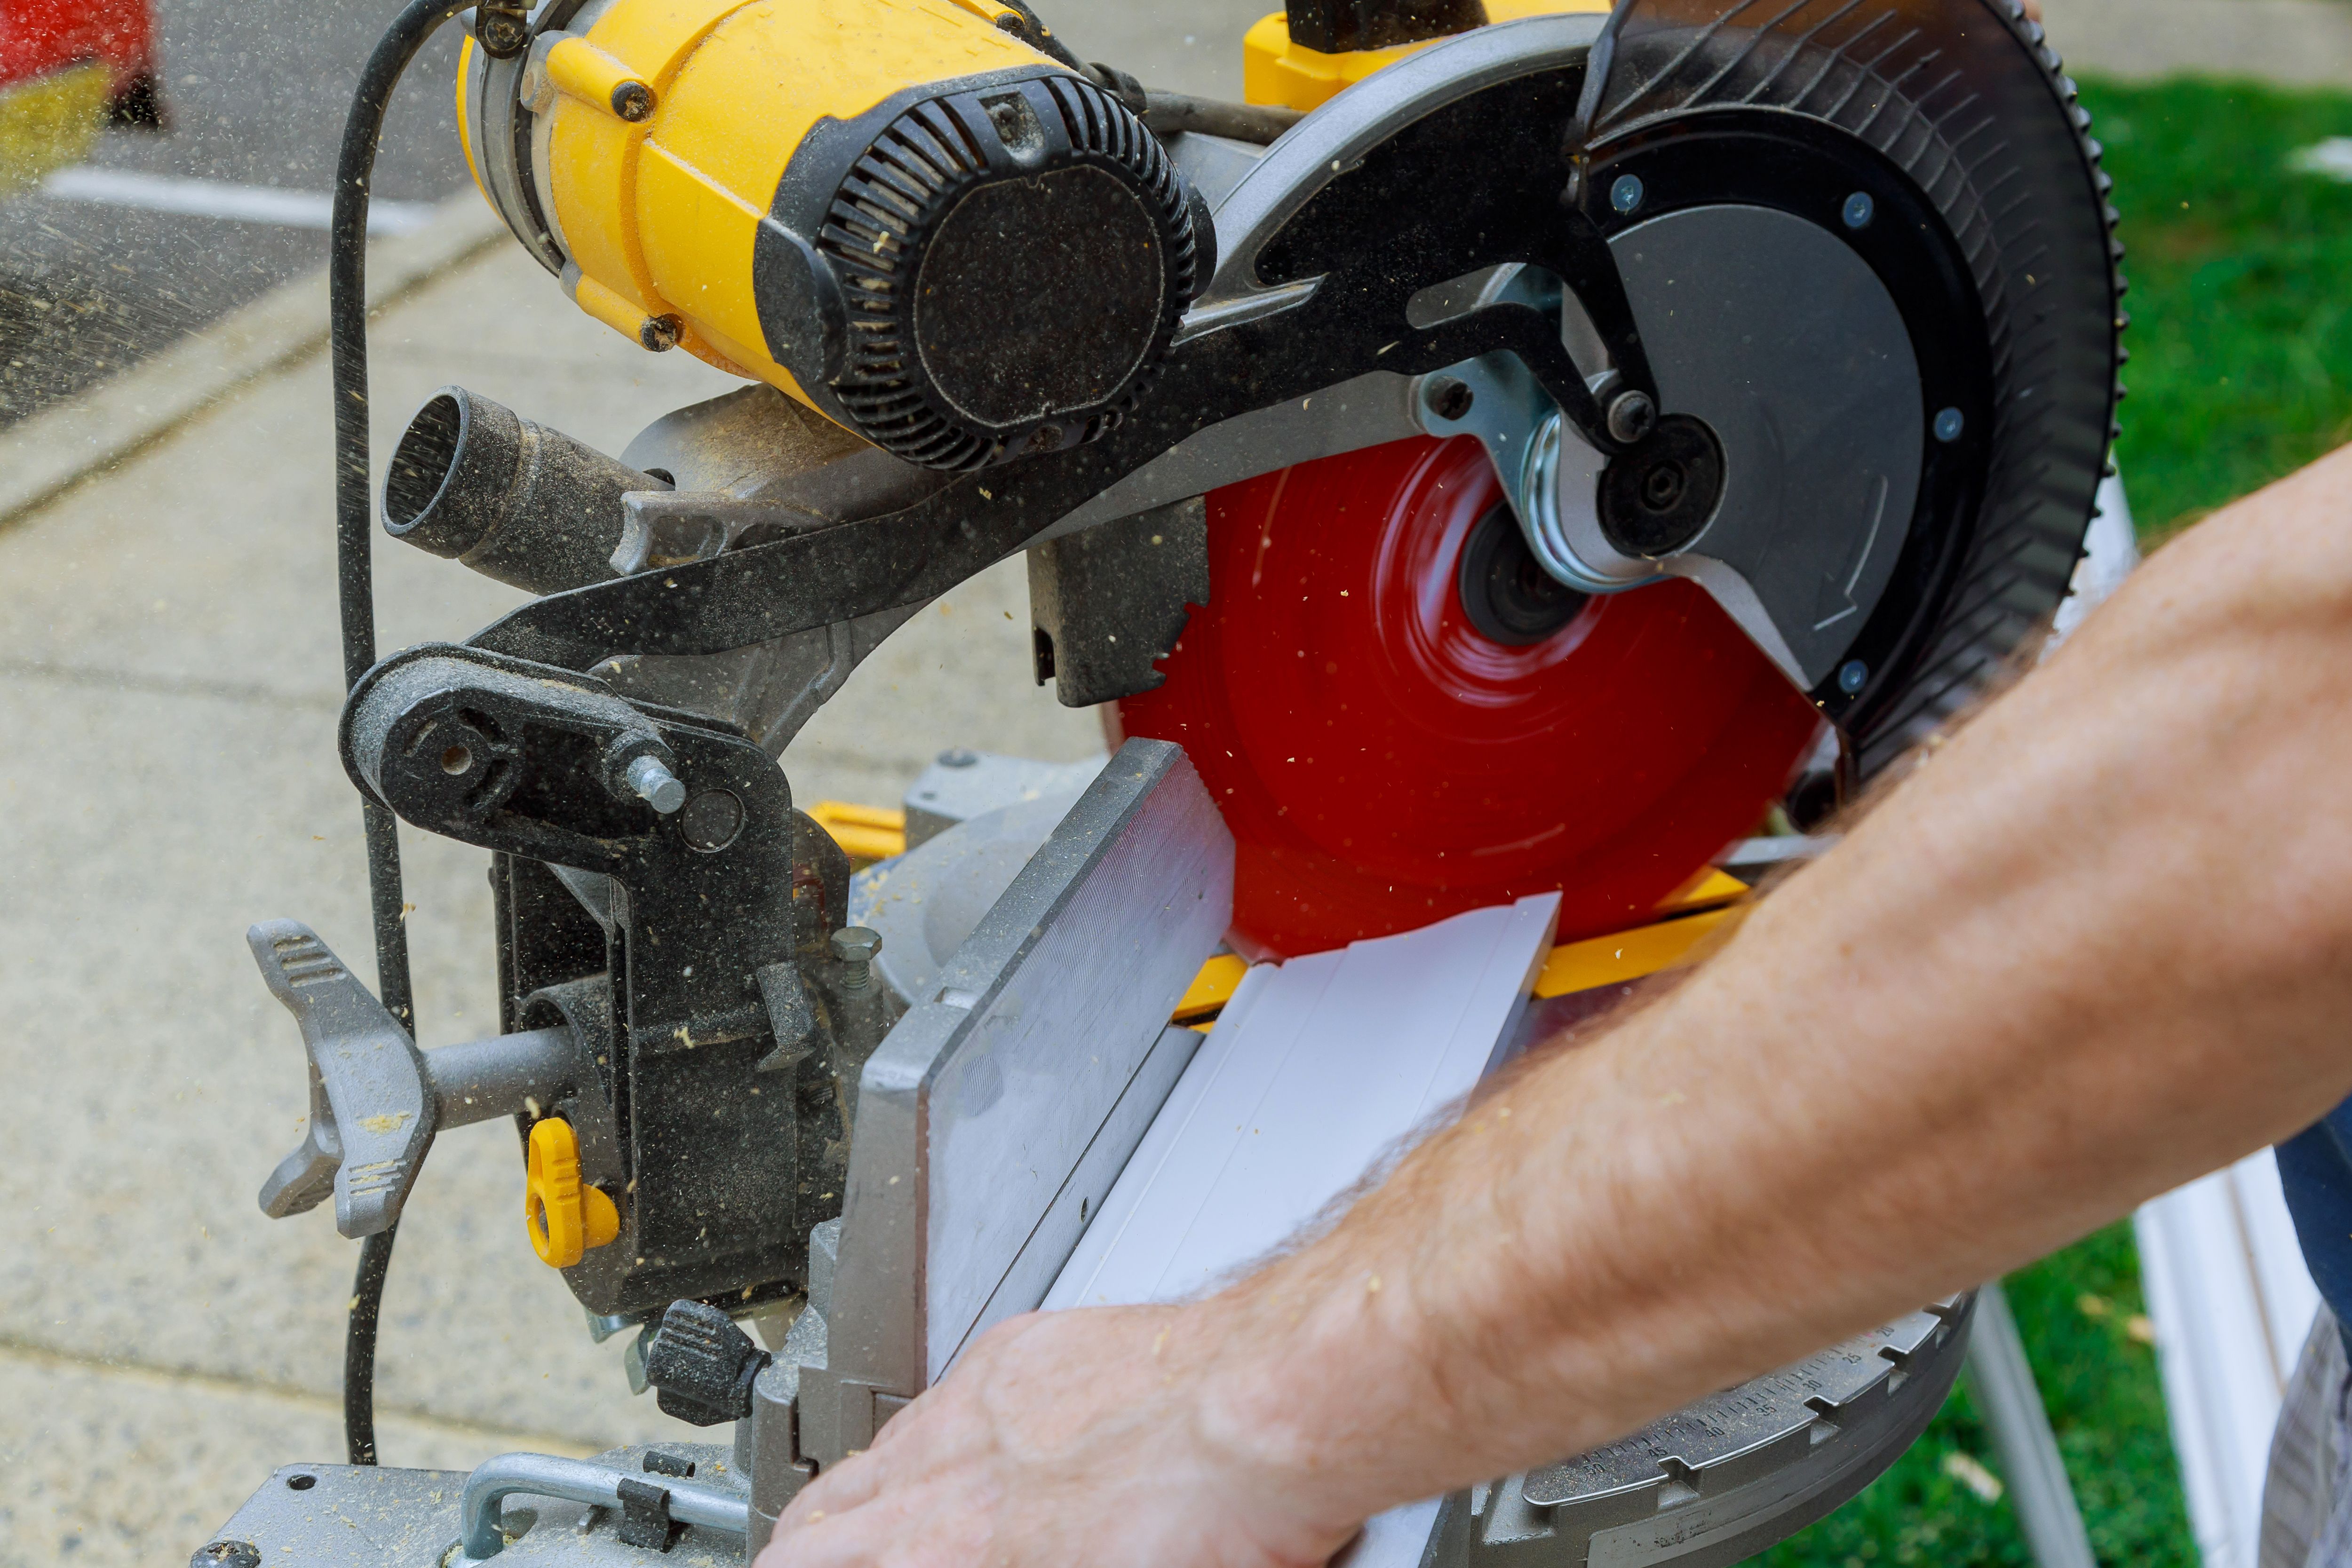
Measuring and Cutting with Precision
Accurate measurement is crucial to a seamless installation. Begin by measuring each wall length and marking where each piece of trim will go. Use a miter saw to cut the baseboard at a 45-degree angle for corners, ensuring a tight fit. Remember to measure twice and cut once to avoid costly mistakes.
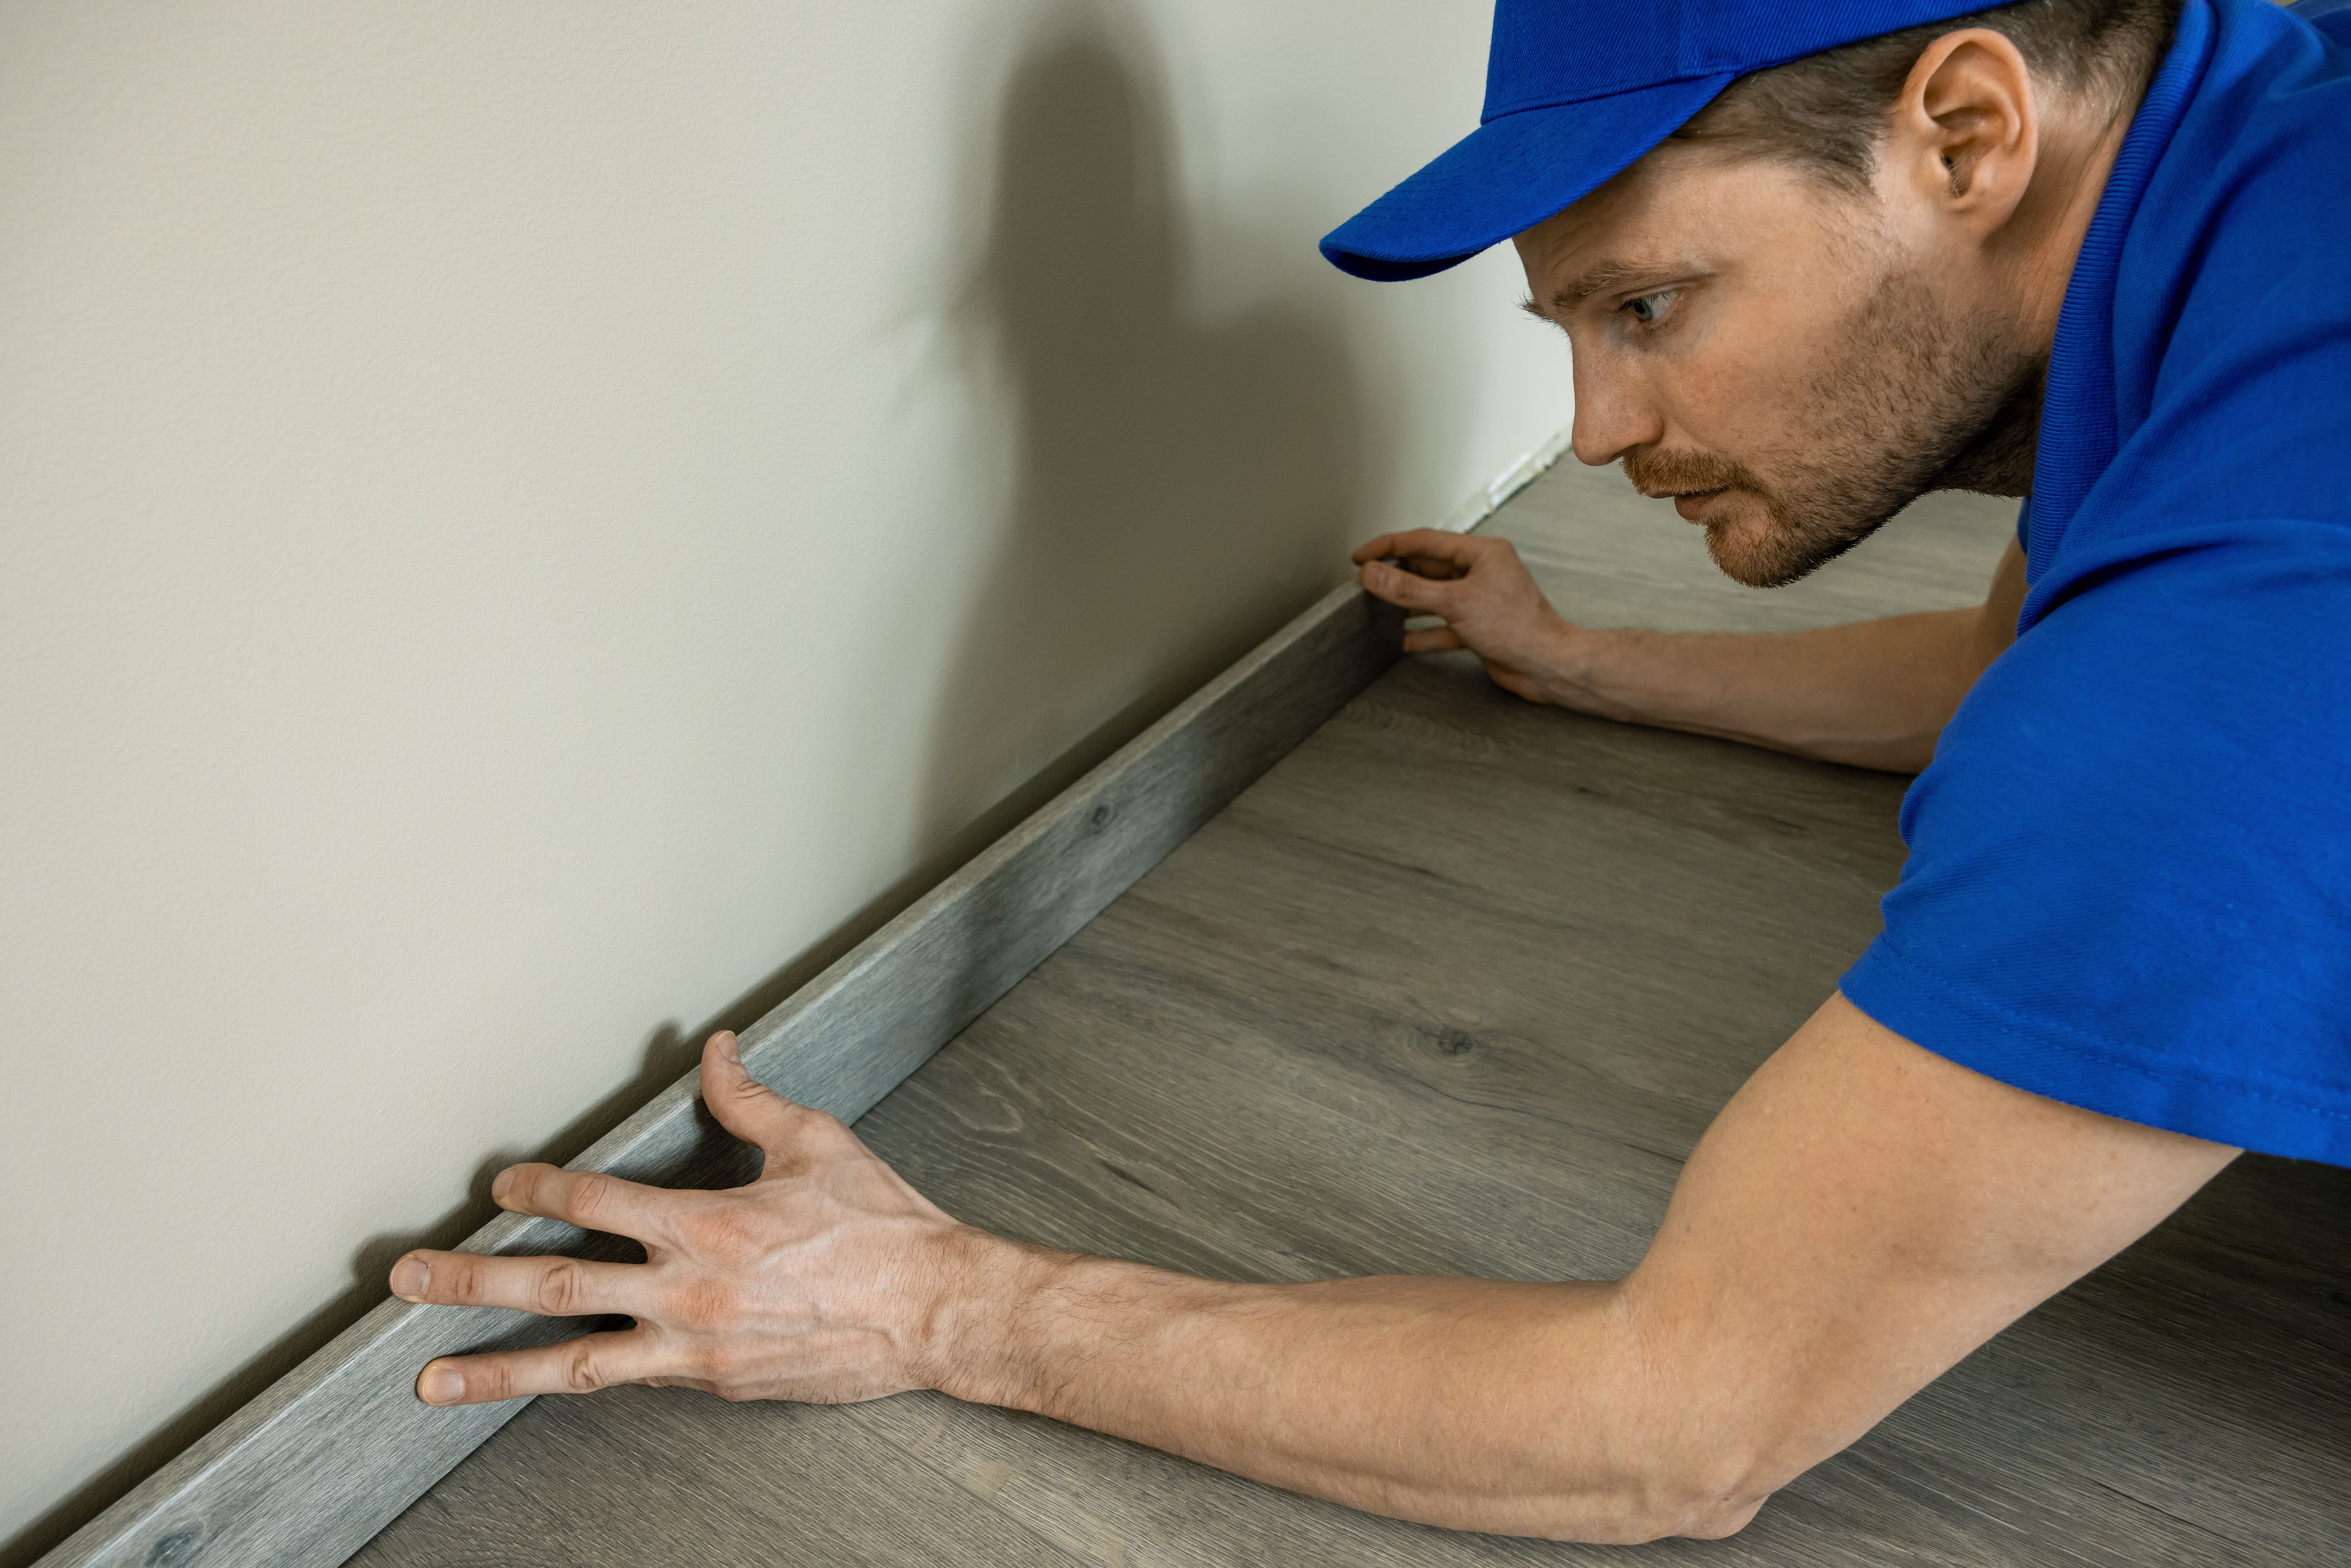
Installation Techniques for a Professional Finish
Start by positioning the baseboard against the wall, using a level to ensure it's perfectly horizontal. Secure it with finishing nails, placing them at regular intervals. When joining two pieces, use a technique called coping to achieve a perfect fit, especially in corners where walls may not be perfectly square.
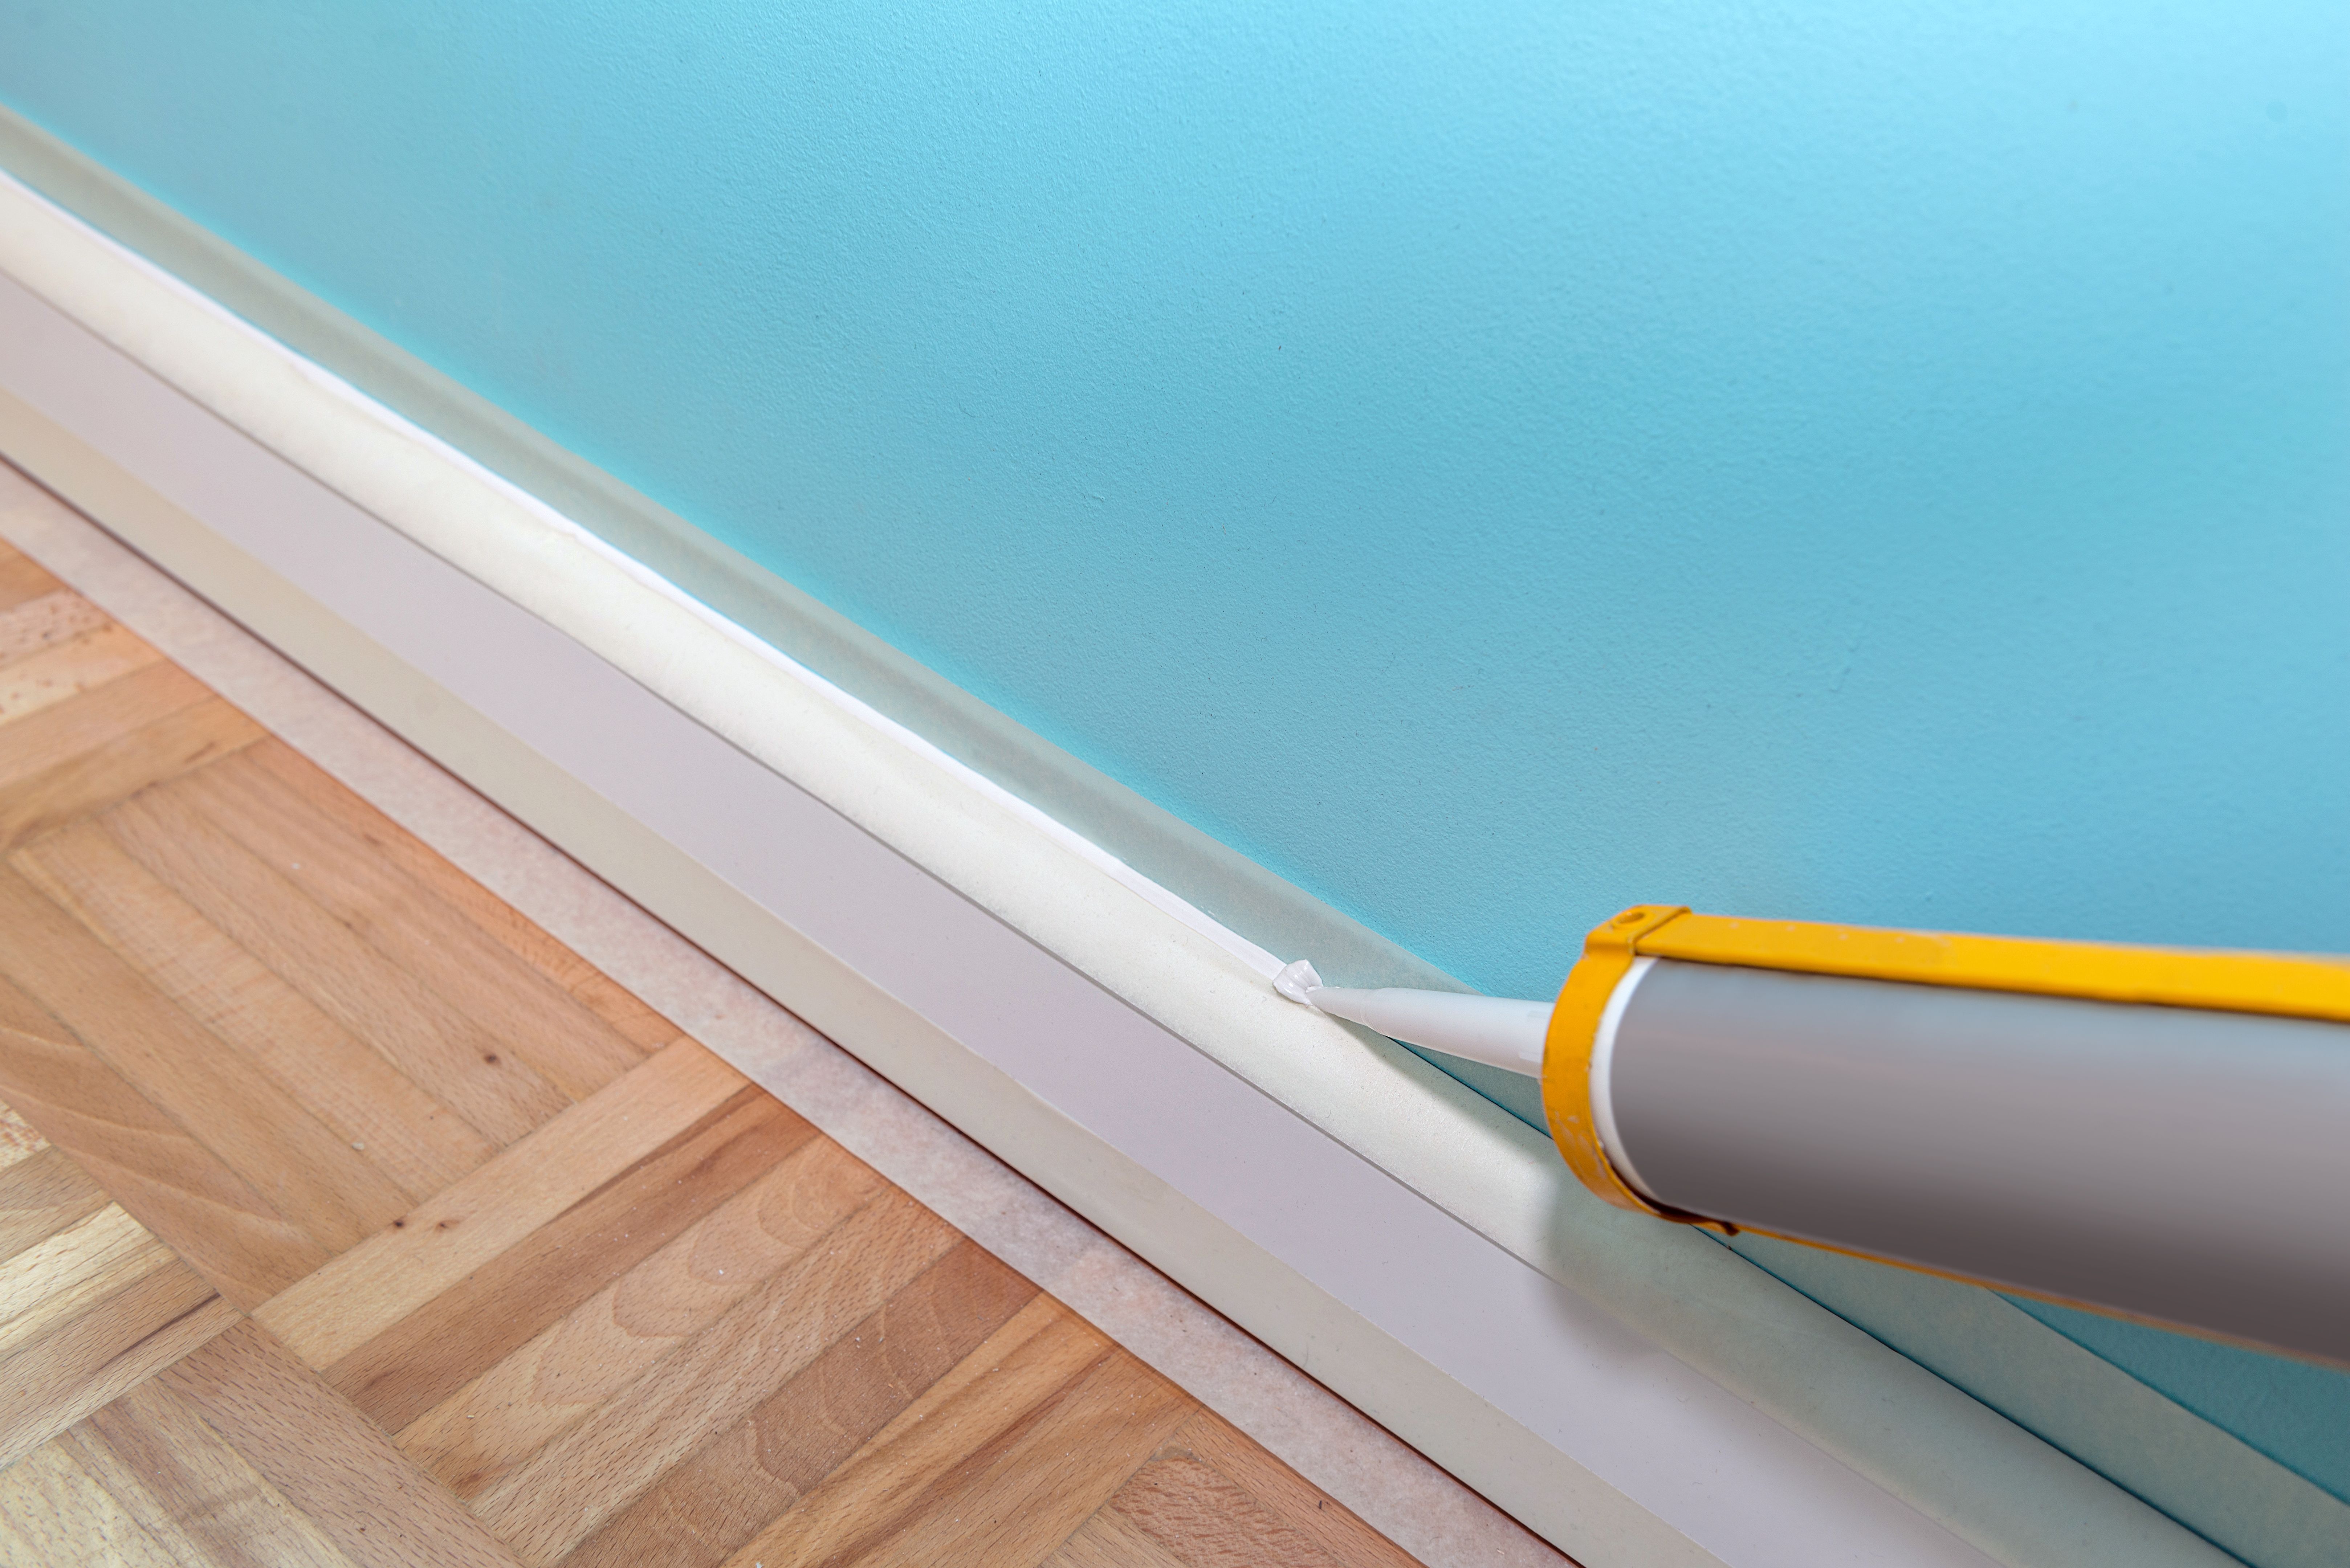
Sealing and Finishing Touches
Once installed, fill any nail holes with wood filler and sand them smooth. Apply caulk along the top edge of the baseboard where it meets the wall to cover any gaps and create a seamless look. Finally, paint or stain your trim to match your room's décor, adding a polished finish.
Troubleshooting Common Installation Issues
During installation, you may encounter uneven walls or floors that can cause gaps between the trim and surface. Use shims to adjust the baseboard's position or apply more caulk to fill gaps. For stubborn corners, re-check your measurements and cuts to ensure precision.
Maintaining Your Baseboard and Trim
After installation, maintaining your baseboards and trim ensures longevity. Regularly dust or wipe them down with a damp cloth to prevent dirt buildup. Periodically inspect for any damage or wear and touch up paint or stain as needed to keep them looking fresh.
Conclusion: Achieving a Seamless Look
Mastering baseboard and trim installation requires patience and practice, but the results are worth the effort. By following these professional techniques, you'll achieve a clean, polished look that enhances your home's aesthetic appeal. Whether you're doing it yourself or hiring a professional, understanding the process ensures quality results.