
How to Reinstall Toilets and Sinks: A Step-by-Step Guide
IC
Preparing for Installation
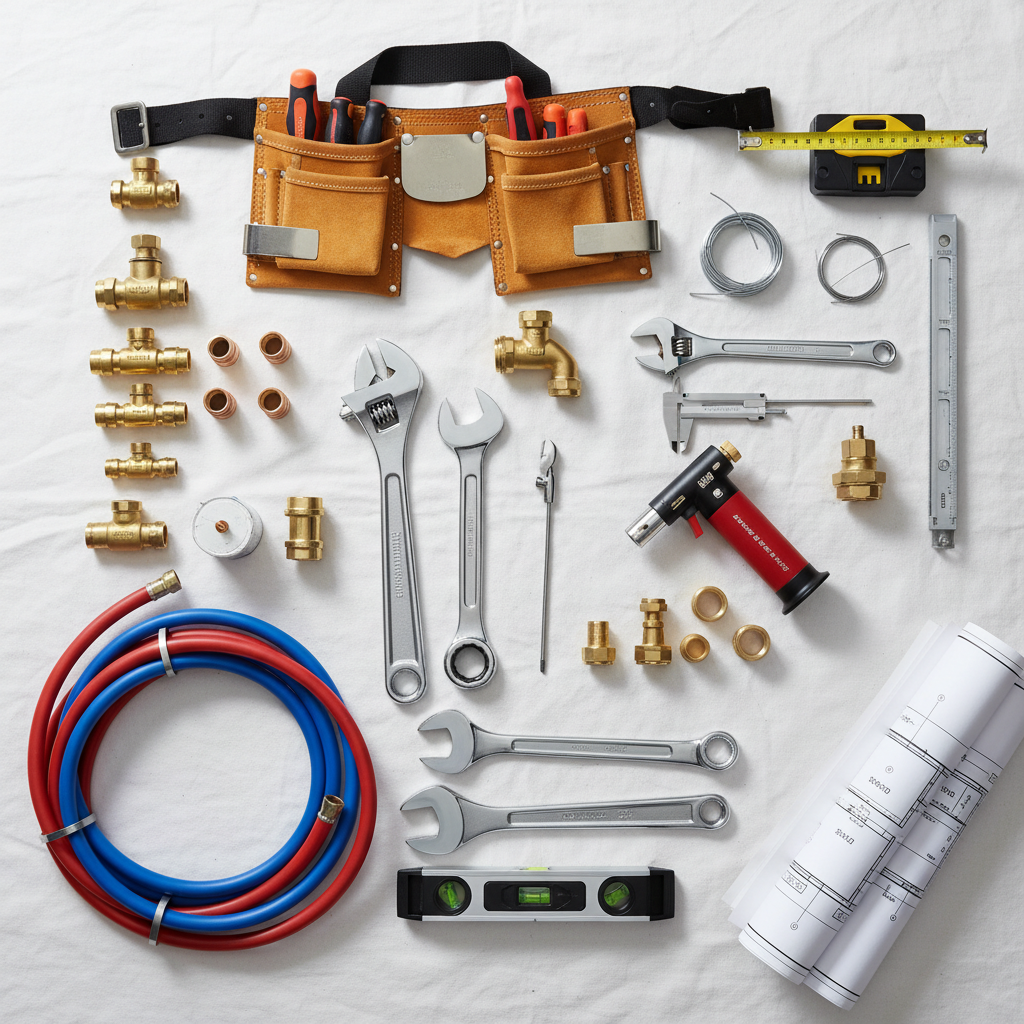
Reinstalling toilets and sinks can seem daunting, but with the right tools and instructions, it’s a manageable DIY project. Before starting, gather essential tools such as a wrench, screwdriver, plumber’s tape, and a bucket. Additionally, ensure you have new wax rings for the toilet and any necessary washers for the sink.
Begin by shutting off the water supply to the area you’re working on. This prevents any accidental leaks or water damage during the process. After turning off the water, flush the toilet to empty the tank and bowl, and use a sponge to remove any remaining water.
Removing the Old Fixtures
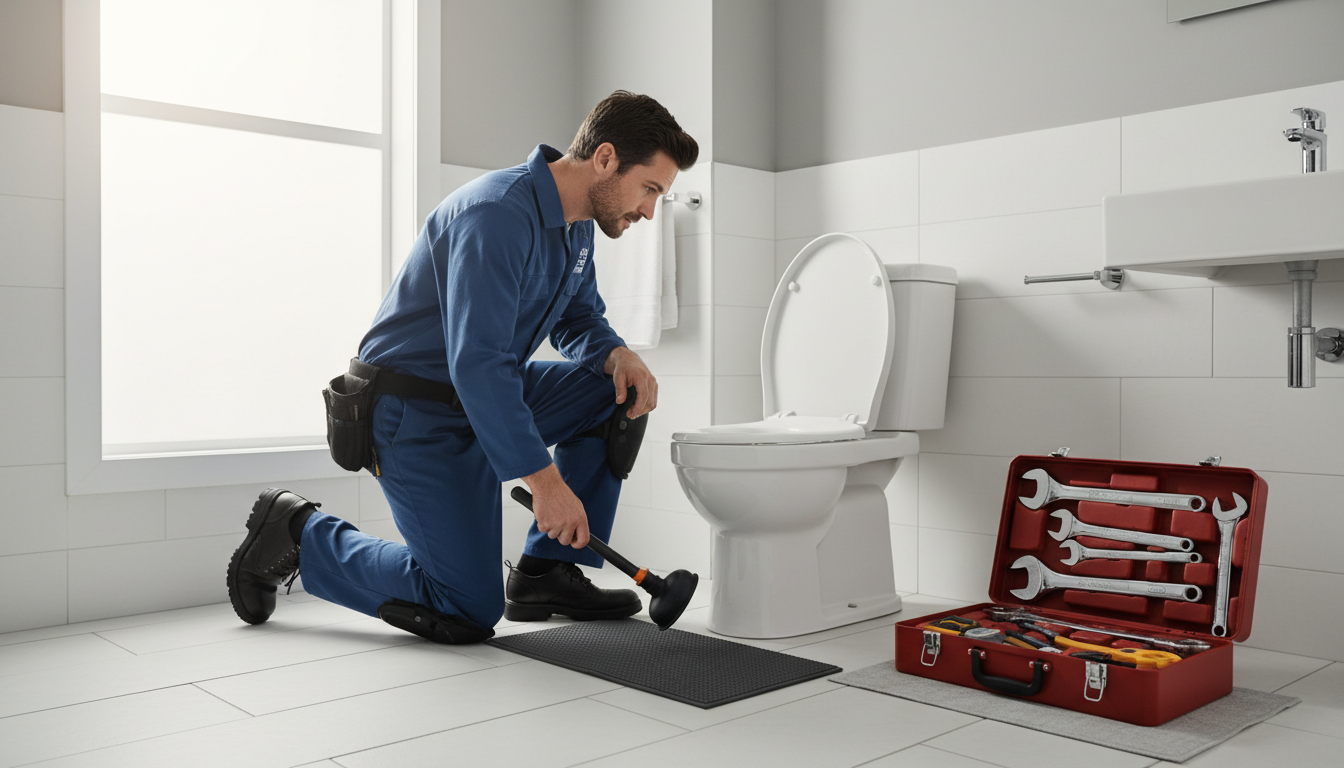
To remove the toilet, unscrew the bolts at the base and carefully lift it off the floor. Place it aside on a protective surface. For the sink, disconnect the water supply lines and drain pipe, then unscrew or unclip the sink from its mounting.
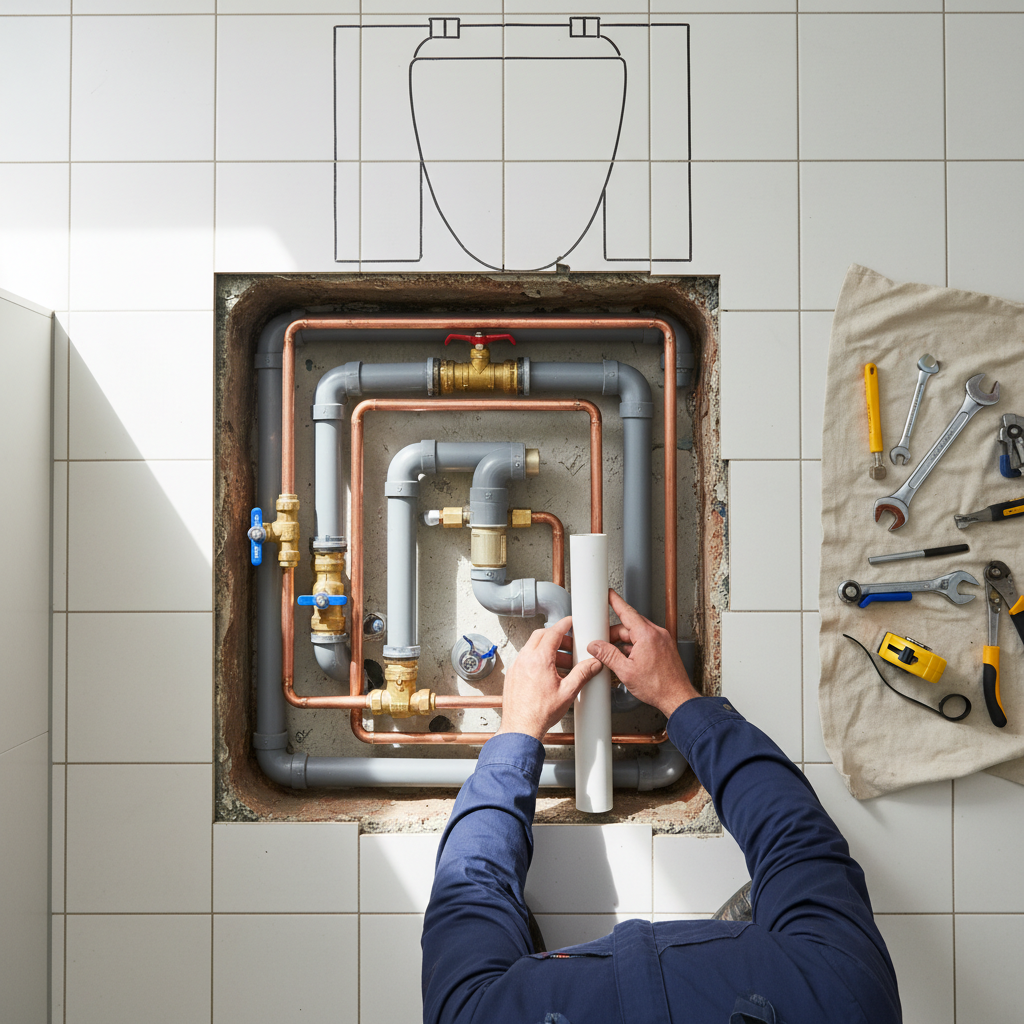
With both fixtures removed, take the opportunity to clean the area thoroughly. This ensures a smooth installation process and helps you check for any potential plumbing issues.
Installing the New Toilet
Start by placing a new wax ring on the flange. Carefully lower the toilet onto the ring, aligning the bolts with the holes on the base. Press down firmly to secure the seal. Tighten the nuts onto the bolts, being cautious not to overtighten and crack the porcelain.
Reconnect the water supply line and turn the water back on. Test the toilet by flushing it a few times to ensure there are no leaks and everything is functioning properly.
Installing the New Sink
For the sink, position it over the mounting brackets or countertop hole, then secure it in place. Reattach the water supply lines and drain pipe, ensuring everything is tightly sealed. Use plumber’s tape on threaded connections to prevent leaks.
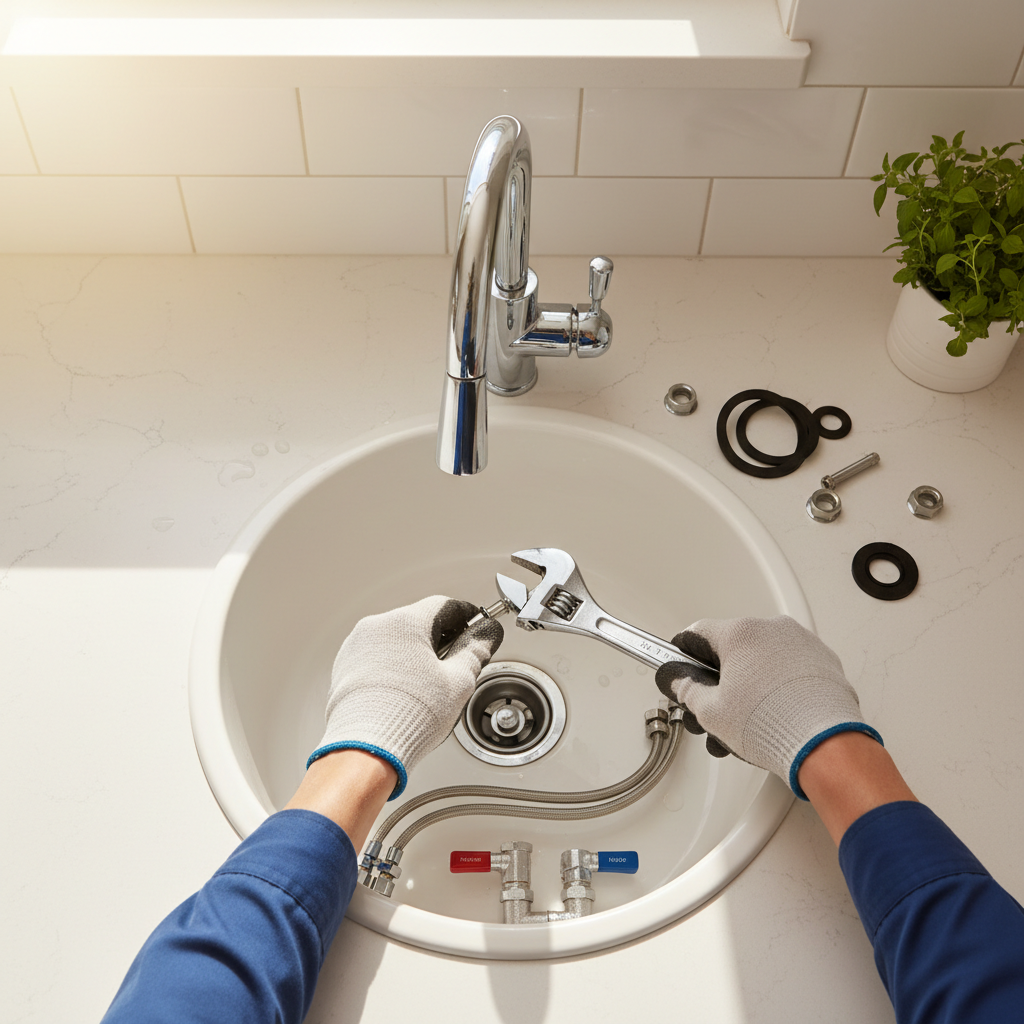
Turn on the water supply and check for leaks by running both hot and cold water. Adjust any connections if necessary to ensure a watertight seal.
Final Checks and Clean-Up
Once both fixtures are installed, perform a final inspection. Check for any signs of leaks around the base of the toilet and under the sink. Tighten connections as needed.
Dispose of any old fixtures responsibly and clean up your workspace. Congratulations on successfully reinstalling your toilet and sink! With these new installations, your bathroom is now more functional and refreshed.