
How to Reinstall a Toilet and Sink: A Handyman’s Checklist
IC
Gathering Your Tools and Materials
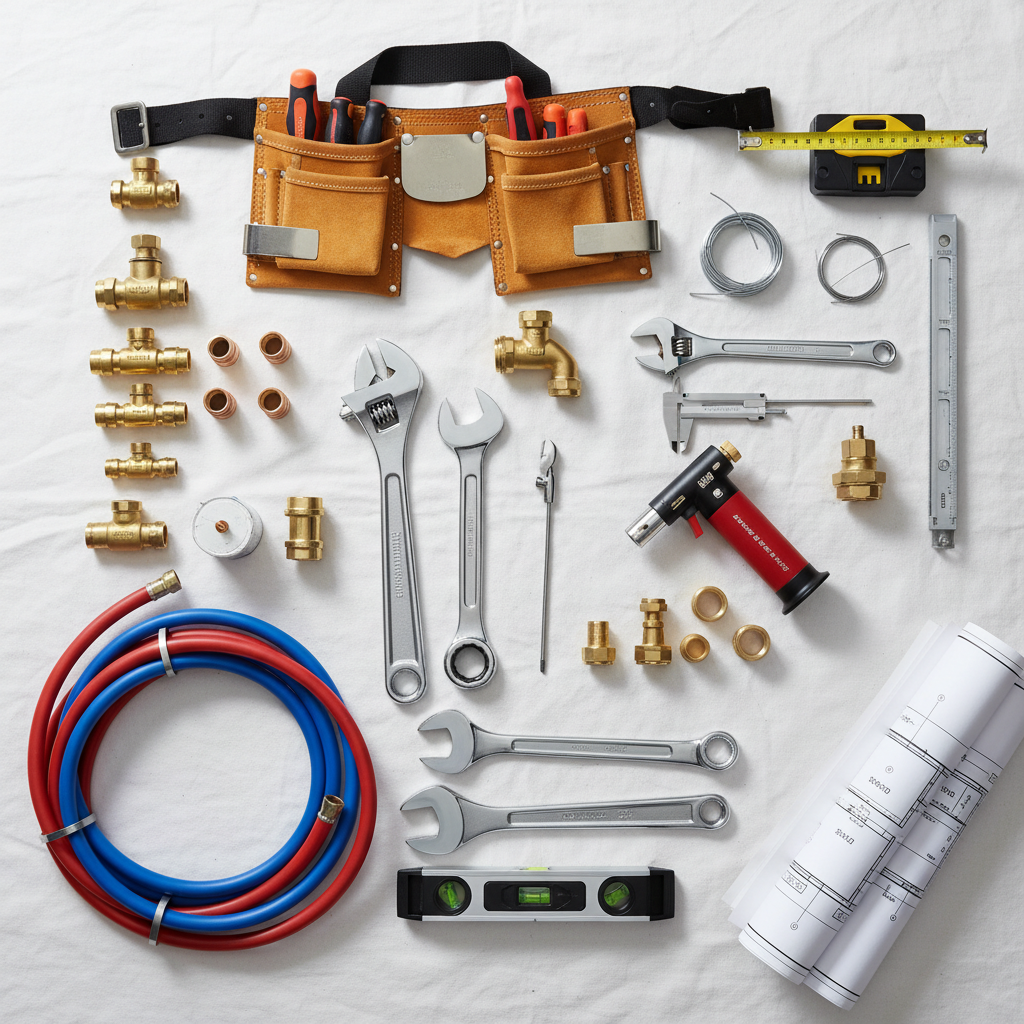
Before you start reinstalling a toilet and sink, ensure you have all the necessary tools and materials. This will save you time and make the process smoother. Common tools include a wrench, screwdriver, plumber’s tape, and a putty knife. You’ll also need a new wax ring for the toilet and possibly some plumber’s putty for the sink installation.
Make sure to have replacement parts such as supply lines, shut-off valves, and any new fixtures you might need. Having these ready will prevent any last-minute trips to the hardware store.
Removing the Old Fixtures
Begin by turning off the water supply to both the toilet and sink. Flush the toilet to empty the tank, and use a sponge to remove any remaining water. Disconnect the supply line and unscrew the bolts holding the toilet in place. With a gentle rocking motion, lift the toilet and set it aside.
For the sink, disconnect the water lines and carefully remove the sink from its position. Make sure to have a bucket or towels ready to catch any residual water.

Preparing the Area
Once the old fixtures are removed, it’s time to prepare the area for the new installations. Clean the floor where the toilet will sit, removing any old wax. Similarly, clean the sink area, ensuring that any old caulk or residue is scraped away.
If necessary, patch any damaged areas and allow them to dry completely before proceeding. This step is crucial for ensuring a proper seal and fit for your new fixtures.

Installing the New Toilet
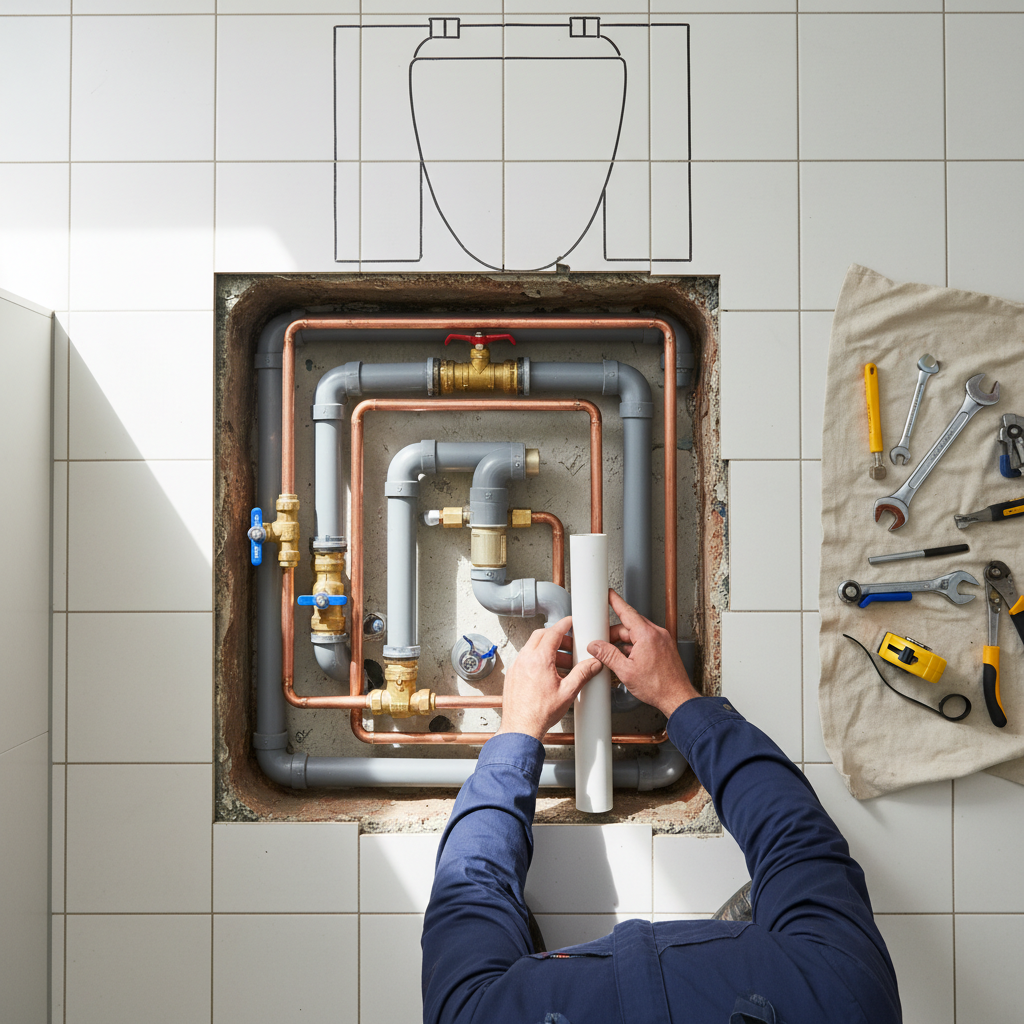
Place the new wax ring on the flange, ensuring it’s centered. Carefully position the toilet over the flange and lower it down, allowing the wax ring to create a seal. Secure the toilet with bolts, being careful not to overtighten and crack the porcelain. Reconnect the water supply and turn it on slowly, checking for leaks.
Flush the toilet a few times to ensure everything is working properly. Adjust the water level in the tank if necessary.
Installing the New Sink
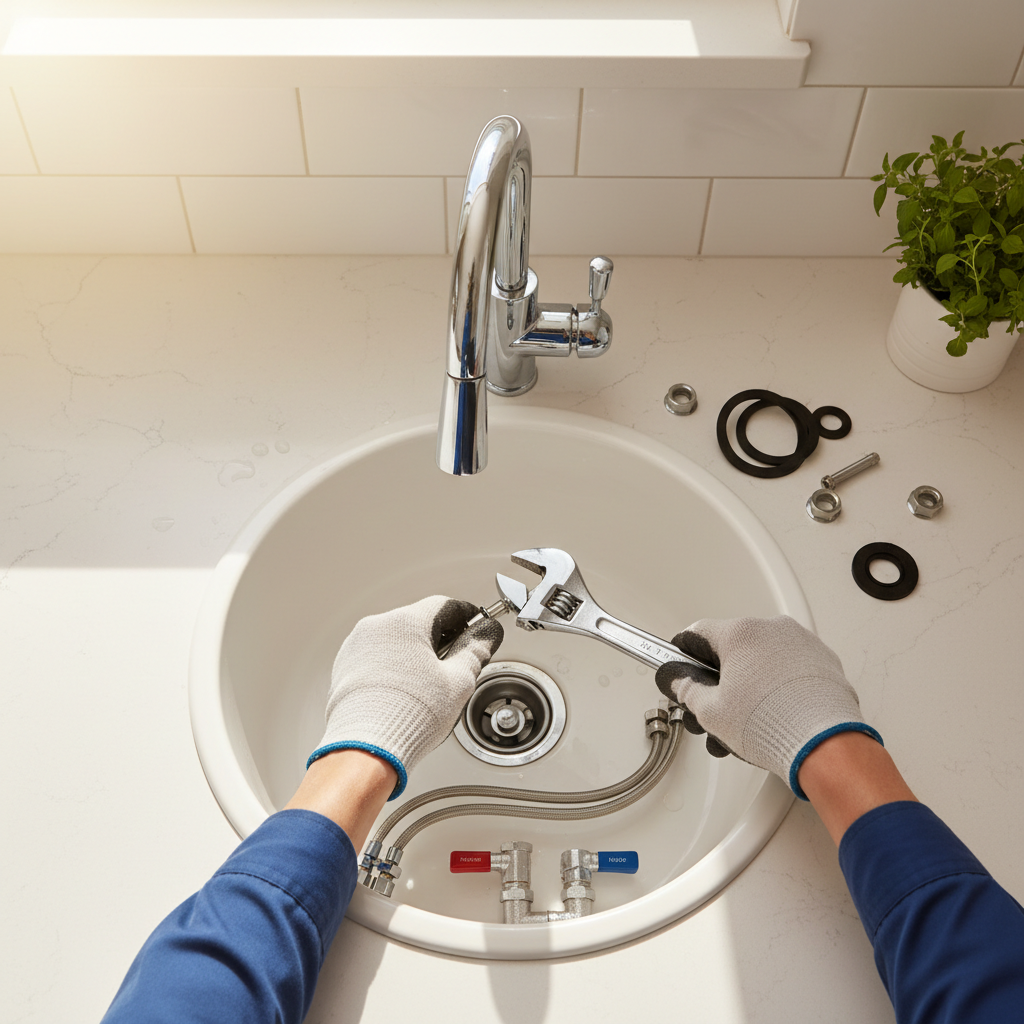
Position the new sink into place, ensuring it fits snugly. If installing a pedestal sink, ensure the pedestal is properly aligned. Apply plumber’s putty around the edges to create a watertight seal.
Reconnect the water lines and test for leaks by turning on the water supply. Tighten any connections if needed, but do not overtighten as it can cause damage.
Final Checks and Cleanup
Once both fixtures are installed, perform a thorough check for any leaks or issues. Tighten any loose connections and ensure everything is functioning as expected. Clean up any debris and ensure all tools are stored away safely.
Congratulate yourself on a job well done! With the right tools and careful preparation, reinstalling a toilet and sink can be a straightforward task.